Vaping for beginners: getting week one right
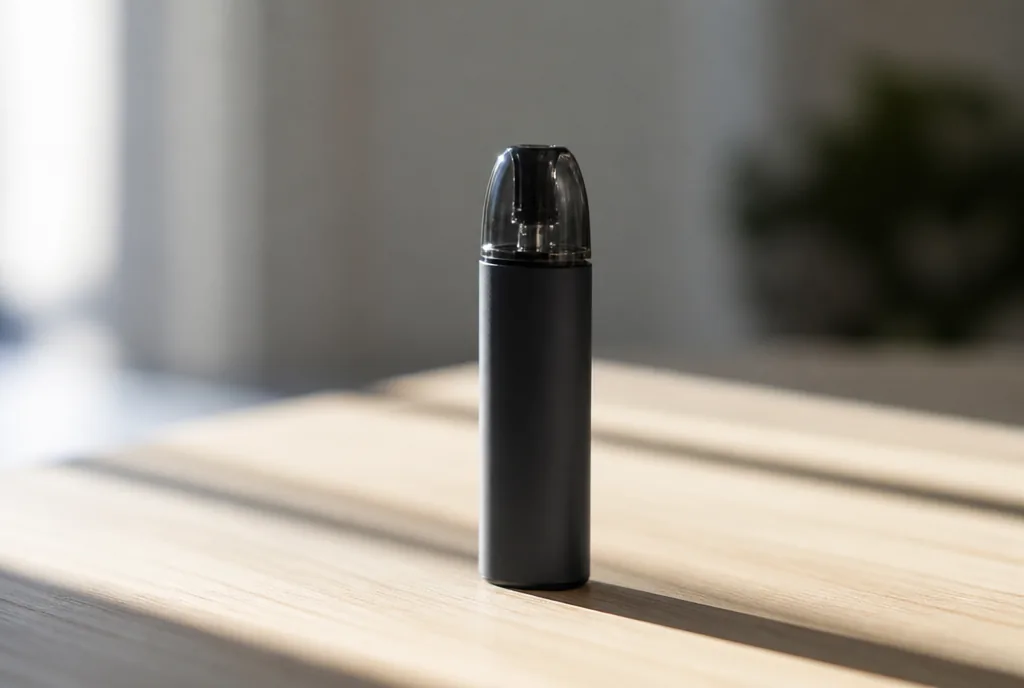
The first few days decide everything. Someone new to vaping for beginners territory, running a kit that does not match the e-liquid in it, spends week one fighting burnt hits and leaks, then concludes the hardware is rubbish. Nine times out of ten the hardware is fine. The setup was not. Here is what to do, in order, from day one.
Vaping for beginners: the ideal starter setup
A simple pod kit, a coil rated above 1 ohm, a 50/50 e-liquid, and two spare coils bought at the same time as the kit. Nothing else belongs in that first basket.
Those four items cover the overwhelming majority of starting situations. They remove the two things that make people give up in the first fortnight: a draw that is far too airy, and a dead coil on a Sunday evening with no replacement in the drawer.
British shops make this easy in one specific way. Refillable tanks sold here hold 2 ml, and nicotine containing e-liquid is capped at 20 mg/ml in 10 ml bottles, so the beginner shelf is unusually consistent from one shop to the next.
Five mistakes that define the first days
They come back with unnerving regularity, and every one of them takes under two minutes to avoid. Knowing them in advance changes the whole of week one.
The first is drawing on a brand new coil without priming it. A coil comes out of its packet bone dry. Drop e-liquid straight onto the cotton visible through the side ports, fit it, fill the tank, then wait. Skip that and the cotton scorches on the very first puff, which is immediate and permanent.
The second is not waiting after filling. Five to ten minutes with a full tank is enough for the liquid to travel through the wick and reach the middle of the coil. It is the highest return gesture in the whole process and the one most often skipped.
The third is picking an e-liquid that is too thick. A vegetable glycerine heavy blend will not wick properly into a high resistance coil. On a starter pod, stay at 50/50 and change nothing else.
The fourth is chain vaping. A coil needs to refill between draws, and two or three seconds of pause is enough for the wick to soak back up. The fifth is buying five flavours at once. Your palate shifts over the first days, so two bottles are plenty to begin with.
The week one routine
A successful start comes down to three daily gestures and one weekly check. The routine settles into place on its own after a few days and then costs you no thought at all.
Every morning, look at the liquid level and never let it drop below the minimum mark moulded into the tank. That single line is where most burnt tastes are born. In the evening, wipe the threads and the base of the tank with kitchen roll.
Once a week, take the tank apart, rinse it under warm water and leave it to air dry. Five minutes, no longer, and no washing up liquid anywhere near it.
Write the fitting date of each coil on a note in your phone. That trivial habit gives you, after a month, your own replacement rhythm, which is far more reliable than any average you will read online. The method for reading those signals sits in our guide on when to change a vape coil.
The minimum vocabulary for vaping for beginners
Three words turn up in every product description in Britain, and misreading them leads straight to an unsuitable purchase.
A coil is the consumable heating part, rated in ohms. The lower the number, the harder it runs and the more e-liquid it gets through. A pod is a compact format where tank and coil often form a single unit. MTL, or mouth to lung, is the tight draw that feels like a narrow straw, and it is the mode that suits a first kit.
A fourth term deserves attention: priming, the soaking gesture described above. It barely appears in any instruction leaflet, yet it decides the lifespan of every coil you will ever fit.
What to buy alongside the kit
A kit on its own does not get you through a calm first week. Four extras remove the common blockages, and they matter more than any upgrade.
- Two spare coils of the exact model supplied with the kit.
- Two 10 ml bottles at 50/50, in two different flavour families.
- A dedicated charging cable, left permanently in one fixed place.
- A microfibre cloth or kitchen roll for the daily wipe.
The critical item is the exact coil reference. Two kits from the same brand can take incompatible coils, so note the code printed on the coil itself the moment you unbox, before the packaging goes in the bin.
Settings: what to touch and what to leave alone
On a starter pod, most parameters are already correct out of the box. Two of them are worth understanding on day one, and the rest can wait indefinitely.
Wattage must stay inside the range printed on the coil. Start at the bottom of that range, then climb one or two watts if the flavour feels flat. Stepping back down is always the wiser move when in doubt.
The airflow ring, where there is one, is set by ear rather than by eye. Close it almost fully for a tight draw, then open it very gradually until the draw feels comfortable without whistling.
Everything else, automatic modes, power curves and preheat, is decorative until those two are stable.
Choosing a nicotine strength without copying someone else
This is where most beginner content in Britain goes wrong, handing out a number as though it applied to everyone. It does not, and there is no strength that is right in the abstract.
The reasoning runs the other way round. Start from the coil, because a low resistance coil delivers far more vapour per puff and therefore far more nicotine per puff at the same labelled strength. A high resistance pod coil sits at the opposite end of that scale.
Then read your own experience over two or three days rather than a chart. Too high and the throat hit turns harsh and scratchy. Too low and you find yourself vaping constantly to compensate, which is its own signal. Adjust in one step, wait a couple of days, and judge again.
The e-liquid itself follows the same logic, and the full reasoning sits in our piece on choosing an e-liquid. If the kit itself is still undecided, work through how to choose a vape before buying anything at all.
Frequently asked questions
Should I switch the device off when I am not using it?
Yes. Five clicks of the fire button locks most models. It prevents pocket firing, which runs the coil dry and ruins it in seconds.
Is a slight crackle on the draw normal?
Yes, that is e-liquid vaporising on the wire. A dry, sharp crackle with an acrid taste is different and means the wick is not keeping up.
Can I take a vape on a plane?
Devices and spare cells travel in the cabin, never in the hold. Check your airline policy before you leave, since it overrides any general rule.
What do I do if the pod leaks in my pocket?
Empty it for long journeys and carry it upright. A change in pressure or temperature is enough to push e-liquid up through the airflow holes.
How long before I settle on my settings?
Expect one to two weeks of adjustment on strength and flavour. After that the setup stabilises and the settings stop moving.
The two habits that carry the first week
Anyone approaching vaping for beginners needs exactly two automatic gestures: prime every new coil, and never vape below the minimum mark on the tank. Those two remove almost all of the unpleasant surprises of the early days, and they cost nothing to adopt.
Once the routine is in place, the rest becomes a matter of taste, and that is where the subject actually gets interesting. Keep the coil dates, keep the ratio that suited you, and vaping for beginners stops being a topic within about a fortnight.
Editorial content for adult readers only. Vaping products usually contain nicotine, a substance that causes addiction. Not for sale to under-18s in the United Kingdom. This article is not a buying recommendation.
Also on the site
Aspire PockeX: the guide to a good start
Aspire PockeX: what the Pocket AIO actually does, picking between the 0.6 and 1.2 ohm coil, the right bottle and a first fill without a burnt hit.
 02
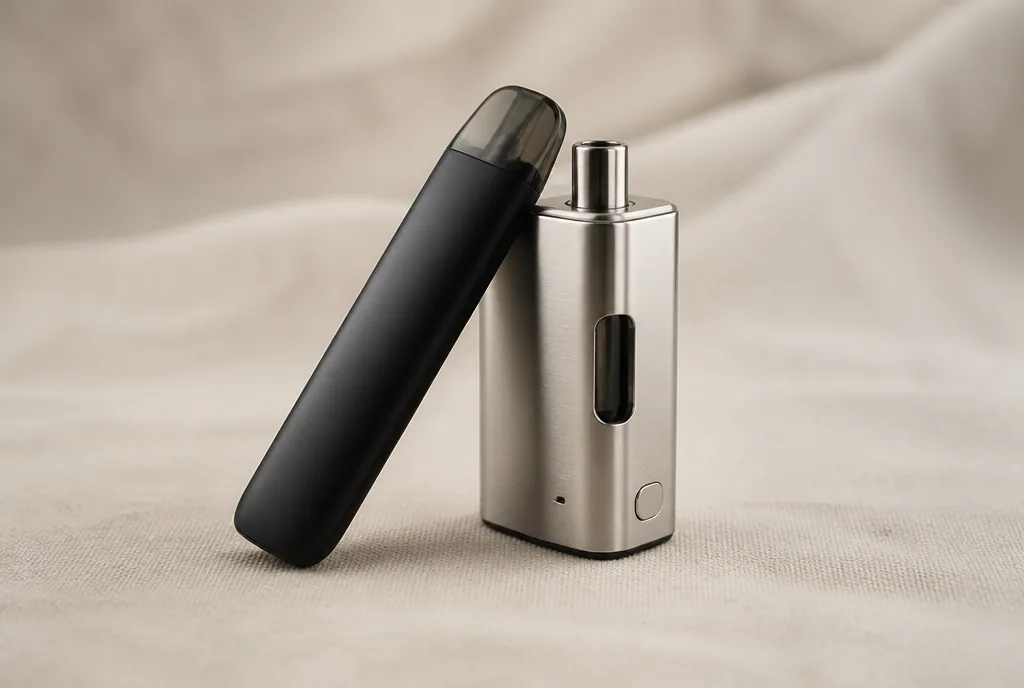
02 How to choose a vape: four questions is enough
How to choose a vape without losing an evening: a four question decision tree, a verdict for each answer, and the traps to dodge in the shop.
 03
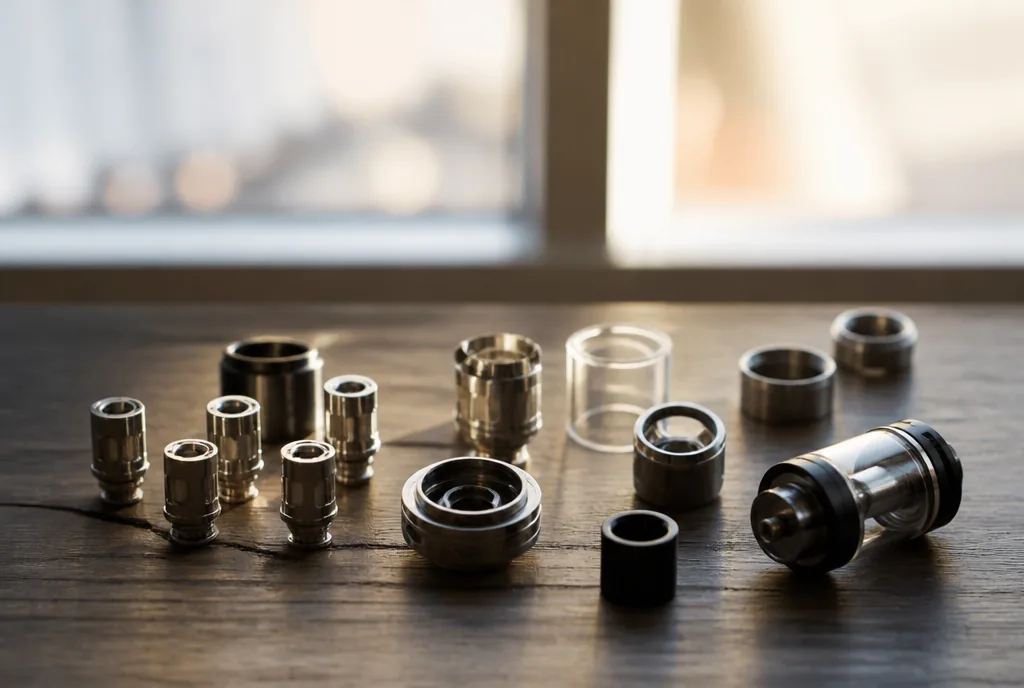
03 When to change your vape coil: the real signs
Forget the one to two week average: the four signals that say when to change your vape coil, and the method for measuring your own rhythm.